
Planning and Preparing for 2 Ton Mini Split Installation
2 Ton mini split installation is a multi-step process that covers sizing, mounting, refrigerant line management, electrical wiring, and system testing. Here’s a quick overview of what it involves:
- Size your space – A 2 ton (24,000 BTU) mini split covers 800–1,200 sq ft depending on insulation, climate, and ceiling height.
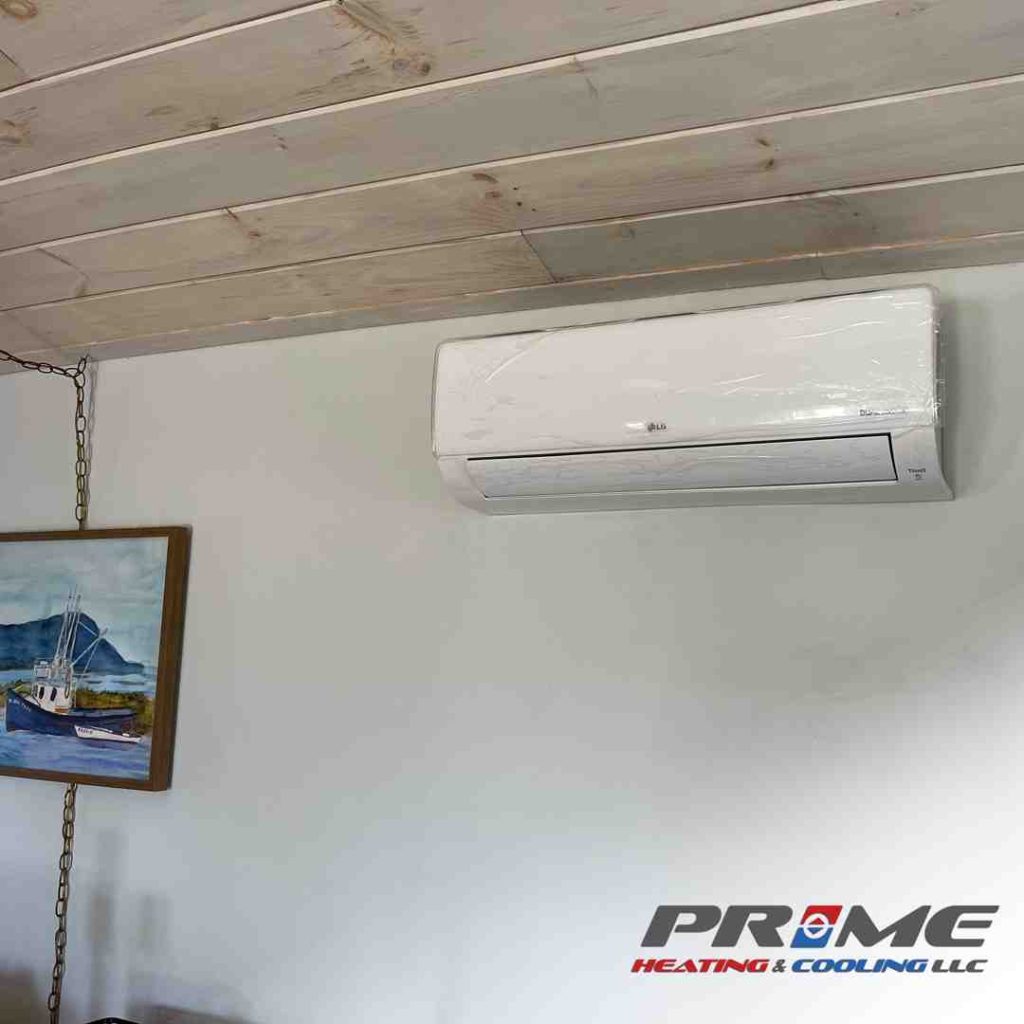
- Choose unit placement – Indoor unit mounts high on a wall; outdoor condenser goes on a level pad with clear airflow.
- Mount the units – Secure the indoor bracket to studs, drill a 2–3 inch wall hole, and set the outdoor unit on a concrete pad.
- Run the line set – Route refrigerant lines, communication cable, and drain hose through the wall to the outdoor unit.
- Handle electrical – Connect a dedicated 220–240V circuit with the correct breaker and wire gauge.
- Vacuum and charge – Evacuate the lines with a vacuum pump, then release refrigerant.
- Test the system – Confirm all modes work and check for leaks.
Note: Handling refrigerant requires EPA 608 certification. Many local codes also require a licensed HVAC technician for electrical connections. Check your local requirements before starting.
Getting this right the first time matters. An improperly sized or installed system can short-cycle, fail early, or void your warranty — problems that cost far more to fix than a careful installation.
I’m Tyler Steiner, founder of Prime Heating & Cooling and a licensed HVAC professional with hands-on experience overseeing hundreds of 2 ton mini split installations across Rhode Island and Massachusetts. In this guide, I’ll walk you through every step of the process, from unboxing your equipment to that first blast of cool air.

2 ton mini split installation terms simplified:
Before you even pick up a drill, successful 2 ton mini split installation starts with a solid plan. In our years of serving neighbors in Johnston, Smithfield, and Warwick, we’ve seen that the “measure twice, cut once” rule applies double to HVAC work. A 2 ton system is a powerhouse, but it needs the right environment to thrive.

When we talk about a “2 ton” system, we aren’t talking about how much the unit weighs (thankfully!). In the HVAC world, one “ton” represents 12,000 BTUs (British Thermal Units) of cooling capacity per hour. Therefore, a 2 ton system delivers 24,000 BTUs. This is the “Goldilocks” size for many Rhode Island homes—powerful enough for a large open-concept living area or a small ranch-style house, but more efficient than a massive central air unit.
Efficiency is another major factor. Modern 2 ton systems often boast SEER (Seasonal Energy Efficiency Ratio) ratings of 20 or higher. Some high-end inverter models can even reach into the 30s! This inverter technology allows the system to speed up or slow down like a car’s cruise control, rather than just blasting on and off, which saves a mountain of energy.
Sizing and Placement for 24,000 BTU Systems
How do you know if 2 tons is truly right for you? Typically, a 24,000 BTU system is rated for 800 to 1,200 square feet. However, “standard conditions” rarely exist in the real world. If you live in an older home in Providence with high ceilings and original windows, your coverage might lean closer to 800 sq ft. If you have a modern, well-insulated addition in Scituate with 8-foot ceilings, you might comfortably cool 1,200 sq ft or more.
| System Size | BTU Capacity | Typical Coverage (Sq. Ft.) |
|---|---|---|
| 1 Ton | 12,000 BTU | 400 – 600 |
| 1.5 Ton | 18,000 BTU | 600 – 900 |
| 2 Ton | 24,000 BTU | 800 – 1,200+ |
For more details on choosing between sizes, check out this more info about 1 ton vs 2 ton installation costs.
Placement Tips:
- Indoor Unit: Mount it at least 7 feet above the floor and leave 6 inches of clearance from the ceiling for proper return airflow. Avoid placing it directly above electronic equipment or in direct sunlight, which can trick the sensors.
- Outdoor Unit: Place the condenser on a level pad. It needs at least 12 inches of clearance around the sides and 24 inches in front to breathe. In Rhode Island, we often recommend mounting it on a wall bracket or a raised stand to keep it above the snow line during our New England winters.
Essential Tools for 2 Ton Mini Split Installation
You can’t finish this job with just a screwdriver and a prayer. To do a professional-grade 2 ton mini split installation, you’ll need a specific arsenal of tools.
- Vacuum Pump & Micron Gauge: Essential for removing air and moisture from the lines. If moisture stays in the lines, it combines with refrigerant to create acid—which is exactly as bad for your system as it sounds.
- Torque Wrench: Mini split connections (flare nuts) are notoriously picky. Too loose and they leak; too tight and you crack the flare.
- Hole Saw (2.5 to 3-inch): For boring through your exterior wall.
- Manifold Gauges: To monitor pressures during the testing phase.
- Flaring Tool: Unless you bought a “quick-connect” DIY kit, you’ll need to flare the ends of the copper lines yourself.
- Nitrogen Tank & Regulator: For pressure testing the lines before releasing the refrigerant.
If this list looks a bit daunting, you aren’t alone. Many homeowners find that the cost of buying these specialized tools nearly equals the labor cost of hiring a pro. You can find more info about saving money on ductless installation to help you weigh your options.
Executing the Step-by-Step Installation Process
Now we get into the heavy lifting. The goal is to create a seamless bridge between the indoor air handler and the outdoor condenser.
Mounting Indoor and Outdoor Units
First, find your studs. The indoor unit is heavy, and it vibrates slightly during operation. Use a stud finder to secure the mounting bracket into at least two studs. Use a level—this is non-negotiable. If the unit isn’t level, the condensate water won’t drain properly, and you’ll end up with a puddle on your living room floor.
Next comes the “point of no return”: drilling the hole. You’ll want a 3-inch diameter hole through the wall, angled slightly downward (about a 1/4 inch per foot) toward the outside. This ensures gravity helps the condensate water flow out.
Outside, prepare your condenser location. If you’re using a ground pad, ensure the dirt is compacted and level. Use vibration pads under the unit’s feet to keep the operation whisper-quiet. If you’re in a snow-prone area like North Smithfield or Coventry, consider a wall mount to keep the unit clear of drifts. For a deeper dive into the mechanics, see this more info about mastering ductless HVAC walkthroughs.
Managing Refrigerant Lines and Electrical Connections
The “line set” consists of two copper tubes (suction and liquid lines), a communication cable, and a drain hose. Carefully unroll the copper lines; they kink easily, and a kinked line can restrict refrigerant flow, killing your efficiency.
The Electrical Side: A 2 ton mini split typically requires a dedicated 220V–240V circuit. This isn’t something you can just plug into a standard wall outlet.
- Breaker: Most 24,000 BTU systems require a 20-amp or 25-amp double-pole breaker.
- Wiring: You’ll usually run 14 AWG or 12 AWG wire (check your manual!) from the main panel to an outdoor disconnect switch, then to the condenser.
- Communication: A 14 AWG, 4-conductor stranded cable usually connects the outdoor unit to the indoor unit, carrying both power and instructions.
Final Testing and 2 Ton Mini Split Installation Safety
Once everything is connected, it’s time for the “moment of truth.”
- Pressure Test: Charge the lines with dry nitrogen to about 300–500 PSI. Let it sit for at least an hour (or 24 hours if you want to be extra sure). If the needle on your gauge doesn’t move, you have a leak-free system.
- The Vacuum: This is the most skipped step in DIY installs, and it’s the most critical. Use your vacuum pump to pull the system down to at least 500 microns. This removes all non-condensables and moisture.
- Refrigerant Release: Once the vacuum is held, you can open the valves on the outdoor unit to release the pre-charged refrigerant into the lines.
Handling refrigerant is regulated by the EPA. Even if you do the mounting yourself, having a pro from Prime Heating & Cooling handle the final “commissioning” ensures you stay legal and your warranty remains intact. We handle permits and certifications for residents across the East Side of Providence and beyond every day.
Long-Term Maintenance and Efficiency
Congratulations! If you’ve followed the steps, your 2 ton mini split installation is complete. But the work doesn’t stop at the finish line. To keep that 20+ SEER efficiency, you need to treat your system well.
Post-Installation Maintenance Checklist:
- Clean Filters: Check the indoor filters every 4–6 weeks. In a dusty environment or a home with pets, they can clog quickly, forcing the 2 ton motor to work harder than it should.
- Clear the Condenser: Make sure leaves, weeds, or snow aren’t crowding the outdoor unit. It needs to “breathe” to exchange heat.
- Check the Drain: Once a year, ensure the condensate line isn’t clogged with algae or debris.
- Professional Inspection: We recommend an annual professional tune-up. We’ll check refrigerant pressures, tighten electrical connections, and deep-clean the coils.
At Prime Heating & Cooling, we’ve spent 20 years perfecting the art of the mini split. Whether you’re in Lincoln, North Providence, or East Greenwich, our team is ready to ensure your home stays perfectly conditioned. If you’re ready for a system that offers zoned comfort and lower bills, we’re here to help.
For more information on professional support, you can explore our services for ductless mini split heat pump installation in Johnston, Warwick, or Smithfield. We also provide comprehensive AC installation in RI and expert tips for success to make sure your project goes off without a hitch.


