
What Homeowners Need to Know About Centralized Aircon Installation
Centralized aircon installation is one of the most impactful upgrades you can make to your home. Here’s a quick snapshot of what it involves:
- What it is: A system that cools your entire home through a network of ducts, an outdoor condenser unit, and an indoor air handler
- How long it takes: Most installs are completed in 1–2 days with existing ductwork; up to a week if new ducts are needed
- Who it’s for: Any homeowner wanting reliable, whole-home cooling and improved energy efficiency
- Key benefit: A properly installed system can cut cooling costs by up to 30% compared to an older, outdated unit
- Bottom line: Professional installation is strongly recommended due to refrigerant handling, electrical work, and code requirements
More than 87% of American homes now have some form of cooling — and central air is the top choice. It’s not hard to see why. A central AC system doesn’t just keep you comfortable. It can increase your property value by up to 10%, improve indoor air quality, and deliver consistent temperatures in every room.
But getting there isn’t as simple as picking a unit and plugging it in. The process involves sizing your system correctly, evaluating your ductwork, pulling permits, and making sure every component is installed to code.
This guide walks you through the entire process — from planning and system selection to installation day and long-term care.
I’m Tyler Steiner, CEO and founder of Prime Heating & Cooling, and I’ve overseen hundreds of centralized aircon installation projects across Rhode Island and Massachusetts. I’ll share what actually matters so you can make confident, informed decisions for your home.

Planning Your Centralized Aircon Installation
Planning is the most critical phase of any HVAC project. If we don’t get the math right at the start, the most expensive unit in the world won’t keep you cool. In Rhode Island cities like Providence or Warwick, where we deal with both high humidity and coastal salt air, precision matters.
The gold standard for planning is the Air Conditioning Contractors of America standards Manual J load calculation. Many fly-by-night contractors will walk into your living room, look around, and say, “Yep, you need a 3-ton unit.” That is a recipe for disaster.
A true load calculation considers:
- Total Square Footage: The size of the conditioned space.
- Heat Gain: How much heat your home absorbs from the sun and occupants.
- Insulation Levels: What’s inside your walls and attic.
- Window Orientation: North-facing windows act differently than massive south-facing glass.
- Local Climate: Our specific Rhode Island weather patterns.
Understanding Sizing: Tonnage and BTUs
AC capacity is measured in BTUs (British Thermal Units) and tons. One ton of cooling equals 12,000 BTUs per hour. As a general rule of thumb, you need about 20 BTUs per square foot, but the Manual J calculation often adjusts this based on your home’s unique “envelope.”

Comparing System Architectures
Before we pull the trigger on a centralized aircon installation, we need to decide which system architecture fits your home’s layout.
| Feature | Split System | Packaged Unit |
|---|---|---|
| Components | Outdoor condenser + Indoor evaporator coil | All-in-one outdoor cabinet |
| Best For | Homes with crawlspaces, basements, or attics | Homes with limited indoor space |
| Efficiency | Generally higher SEER options available | Compact but slightly lower efficiency ceiling |
| Installation | More complex (connecting lines) | Simpler (direct duct connection) |
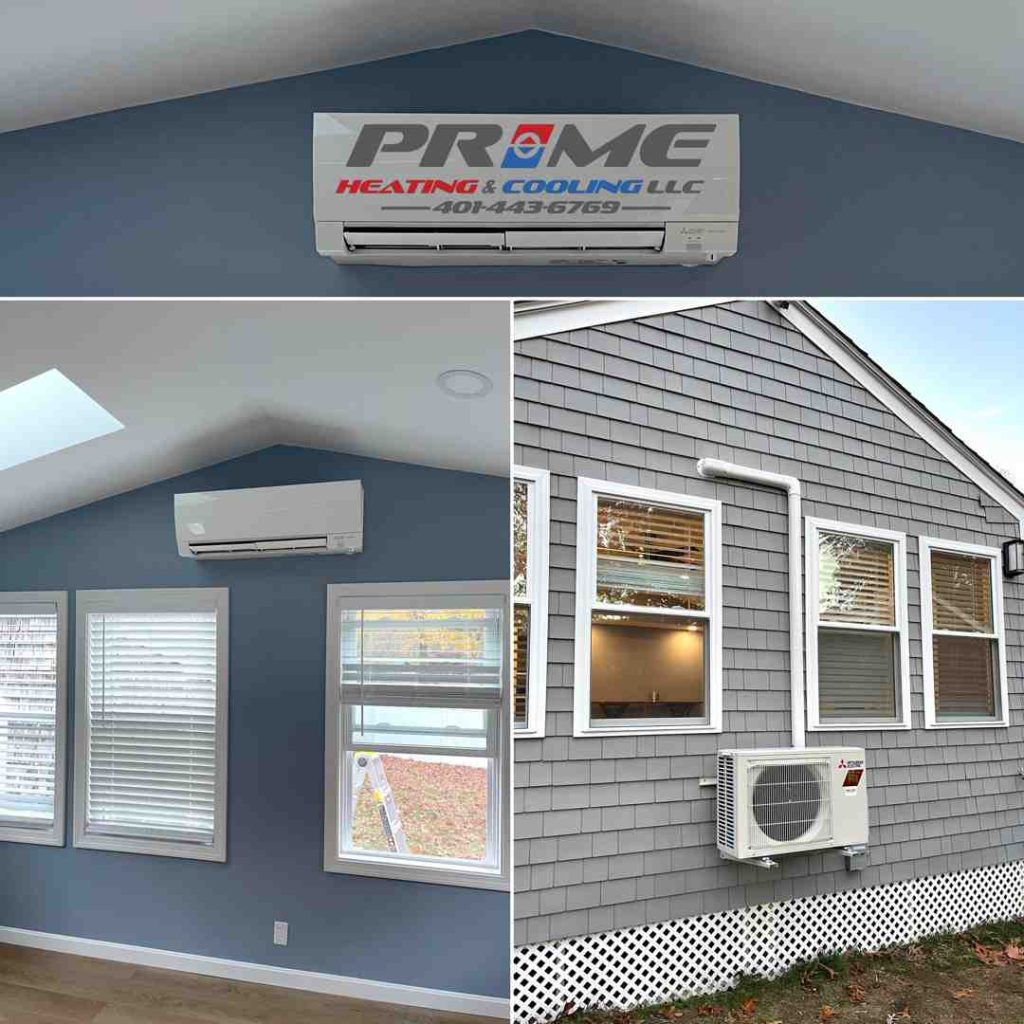
While central air is the traditional choice, we’ve seen a massive rise in Ductless AC trends in Rhode Island, especially in older homes in places like East Greenwich or the East Side of Providence where running new ductwork might be architecturally impossible or too invasive.
Choosing the Right System: Types and Efficiency for Centralized Aircon Installation
Once we know the size, we look at efficiency. This is where the SEER (Seasonal Energy Efficiency Ratio) comes in. Think of SEER like the MPG for your car. The higher the number, the less electricity the unit uses to move heat out of your house.
- Federal Standards: Federal SEER requirements currently mandate a minimum SEER of 13 for new installations, though many modern units reach 20+.
- How it’s Measured: The Seasonal Energy Efficiency Ratio explained is the cooling output divided by the total electric energy input during the same period.
- Energy Star: Look for the blue label. Energy Star-certified units exceed federal standards and often qualify for local rebates.
Beyond the numbers, you have to choose the type of technology:
- Single-Stage: It’s either 100% on or 100% off. Simple and reliable, but less efficient.
- Two-Stage: Has a “high” and “low” setting. It runs on low most of the time to save energy and provide better dehumidification.
- Variable-Speed (Inverter): The most efficient option. It adjusts its speed precisely to meet your home’s needs, like a dimmer switch for your cooling.
We always emphasize the benefits of professional AC installation because even a 25-SEER unit will perform like a 10-SEER unit if the refrigerant charge is off or the airflow is restricted.
Sizing and Preparation for Centralized Aircon Installation
Preparation is what separates a “handyman job” from a professional Prime Heating & Cooling installation. Before our trucks arrive at your home in Coventry or Johnston, we go through a rigorous checklist.
1. Ductwork Inspection Your ducts are the lungs of your home. If they are leaky, crushed, or undersized, your new AC will struggle. Statistics show that the average home can lose 25% of its conditioned air through leaky ducts. We check for:
- Proper sealing (mastic is better than tape!).
- Adequate insulation in unconditioned spaces like attics.
- Blockages or accumulation of debris.
2. Electrical Upgrades Modern high-efficiency systems might require a different circuit breaker or updated wiring. We ensure your home’s electrical panel can handle the new load safely.
3. Permits and Regulations In Rhode Island, you can’t just swap an AC unit. Local building codes in Scituate or Smithfield require permits to ensure the installation meets safety and environmental standards. We handle this paperwork for you.
For more details on what we look for, check out our guide on the steps to a successful AC installation and why we are considered the go-to for AC installation services in RI.
Understanding Costs, Financing, and Alternatives
While we don’t list specific prices here (every home is unique!), it’s important to understand what drives the investment. A centralized aircon installation is a significant project that includes the equipment, labor, permits, and often ductwork modifications.
Several factors influence the final cost:
- The SEER Rating: Higher efficiency units have a higher initial cost but lower monthly bills.
- Ductwork Condition: Replacing or adding new ducts can double the labor involved.
- Home Size: Larger homes require higher tonnage units.
- Accessibility: Is the air handler in a tight crawlspace or an easy-to-reach basement?
You can find general market data on average installation costs via Angi, and for those specifically in the Smithfield area, we have a localized breakdown of the cost of AC installation in Smithfield.
If a full central system isn’t in the cards, we often discuss alternatives:
- Ductless Mini-Splits: Perfect for additions or homes without existing ducts.
- High-Velocity Systems: These use small, flexible tubes instead of large metal ducts, making them ideal for historic Rhode Island homes.
- Heat Pumps: These provide both cooling in the summer and highly efficient heating in the winter.
Many homeowners take advantage of financing options or state-specific rebates (like those offered through RI Energy) to make the upgrade more manageable.
The Installation Process and Long-Term Care
Installation day is exciting! It’s the day you finally say goodbye to window units and hello to quiet, whole-home comfort.
A typical centralized aircon installation takes about 1 to 2 days. If we are starting from scratch with brand-new ductwork, expect it to take closer to a week.
The Step-by-Step Installation and Testing Process
When our team arrives, we follow a strict protocol to ensure your system performs at its peak.
- Removal and Recovery: If we’re replacing an old unit, we must follow EPA regulations for refrigerant recovery. We never “vent” old refrigerant into the atmosphere; it’s captured in specialized tanks for recycling.
- Indoor Component Installation: We install the evaporator coil and the air handler. This usually involves custom sheet metal work to connect the new unit to your existing ductwork perfectly.
- Outdoor Component Installation: The condenser is placed on a level, stable pad. We ensure it has at least 12 inches of clearance from walls and shrubs to allow for proper airflow.
- Connecting the Line Set: We run copper refrigerant lines between the indoor and outdoor units. These lines are then brazed (welded) together to create a sealed loop.
- The Vacuum Test: This is the most important technical step. We use a vacuum pump to remove all air and moisture from the lines. If moisture stays in the system, it will eventually turn into acid and destroy the compressor.
- Electrical and Control Wiring: We connect the high-voltage power and the low-voltage thermostat wires.
- Charging and Testing: We release the refrigerant and fine-tune the charge based on the exact length of the lines. We then test the “delta T” (the temperature difference between the air going in and the air coming out) to ensure it’s cooling correctly.
Our goal is to provide stay cool with professional AC installation that lasts for decades. We wrap up with a final walkthrough to show you how to use your new system and answer any questions. You can read more about our commitment to expert AC installation in Smithfield.
Maintenance and Avoiding Common Installation Mistakes
Once the system is in, the work doesn’t stop. To protect your investment and ensure a 15-year lifespan, maintenance is non-negotiable.
Common Mistakes to Avoid:
- Oversizing the Unit: An oversized AC will “short cycle,” turning on and off rapidly. This leaves your home feeling humid because the unit doesn’t run long enough to remove moisture.
- Ignoring the Filter: A dirty filter is the #1 cause of system failure. Check it every month and change it at least every 90 days.
- Leaky Ducts: As mentioned, you can lose 25% of your cooling to the attic. Proper sealing is essential.
Maximizing Efficiency:
- Smart Thermostats: These devices learn your habits and can save up to 15% on cooling costs. Check out some of the best smart thermostats to see which features might benefit you.
- Zoned Cooling: By using dampers in your ducts, you can cool only the rooms you are using. This can lead to energy savings of up to 30%.
- Annual Tune-ups: Just like your car needs an oil change, your AC needs a professional cleaning and inspection every spring.
For more pro tips, see our efficient AC maintenance tips.
Maximizing Your Investment with Prime Heating & Cooling
Choosing Prime Heating & Cooling means choosing 20 years of local experience. We understand the specific needs of Rhode Island homeowners, from the historic homes in Lincoln to the modern builds in North Providence.
Why Professional Installation Beats DIY: While it might be tempting to try a DIY approach, centralized aircon installation involves high-voltage electricity, pressurized refrigerants, and complex airflow physics. A single mistake can void your warranty, lead to expensive repairs, or even create a fire hazard.
Our Maintenance Checklist for You:
- [ ] Change air filters every 1–3 months.
- [ ] Keep the outdoor unit clear of leaves, grass clippings, and debris.
- [ ] Ensure supply vents and return grilles are not blocked by furniture.
- [ ] Schedule a professional “Clean and Check” every spring.
- [ ] Monitor your energy bills for unexplained spikes.
A well-installed and well-maintained system is more than just a luxury; it’s an investment that pays for itself through lower energy bills, increased property value, and, most importantly, the peace of mind that comes from a cool, comfortable home.
If you’re ready to upgrade your comfort, we’re here to help. Whether you are in Coventry, Warwick, or any of our other service areas, we offer 24/7 availability and a customer-first approach to every professional AC Installation RI project.
Stay cool, Rhode Island!


